Now to watch the room really transform, check out tiling.
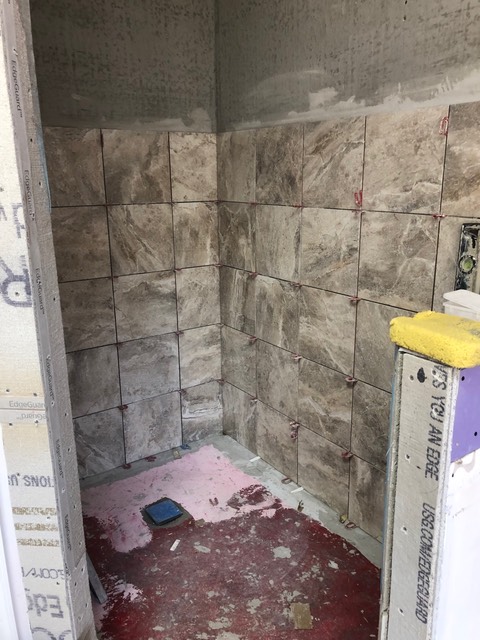
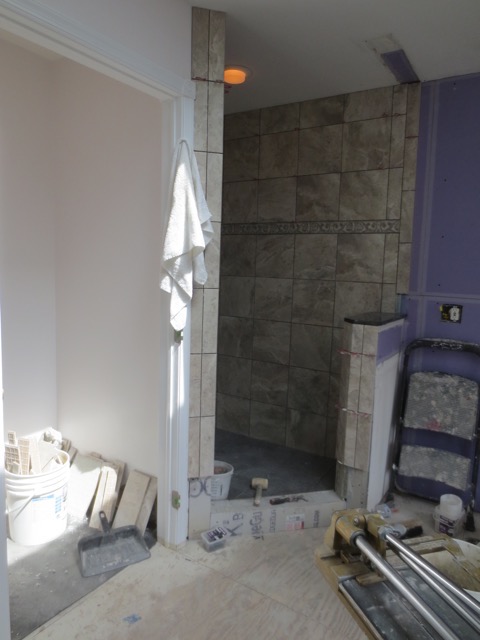
Shower tiling in progress. So much hard work! You can also see some progress on the floor waterproofing. It’s got several layers of different materials.
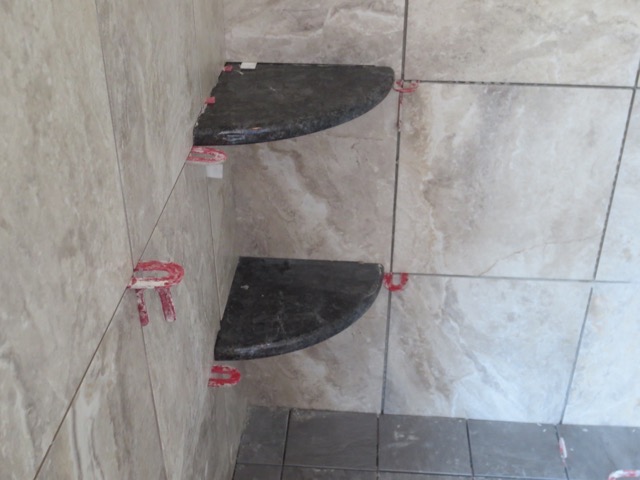
Corner shelves going in
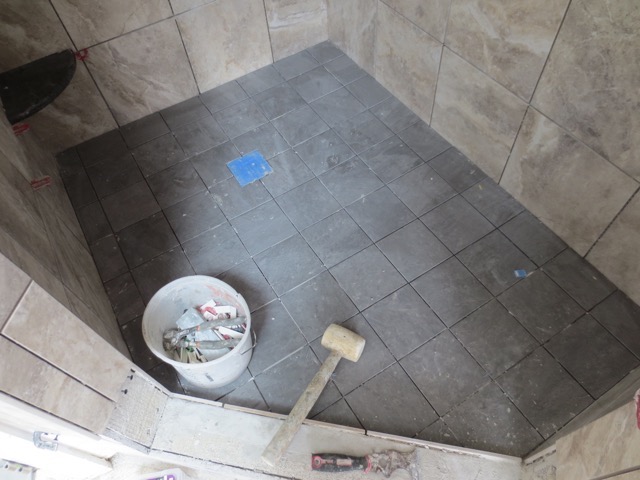
Shower floor progress. You can’t tell from the pictures, but there’s a fine art to make sure the entire floor pitches to the drain correctly. The old shower wasn’t even pitched correctly - water always collected by the door.
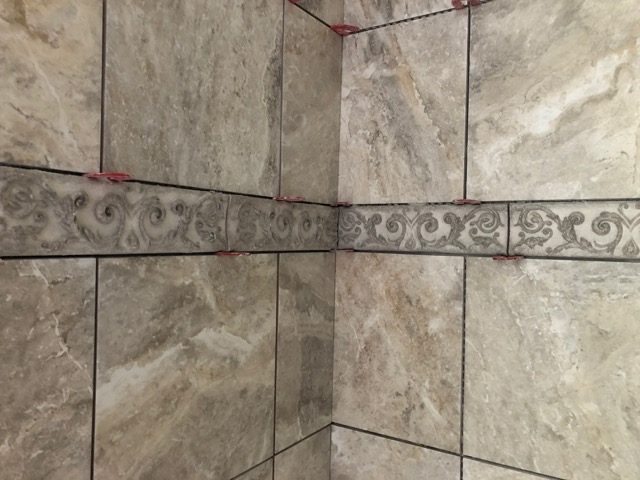
Pretty listellos!

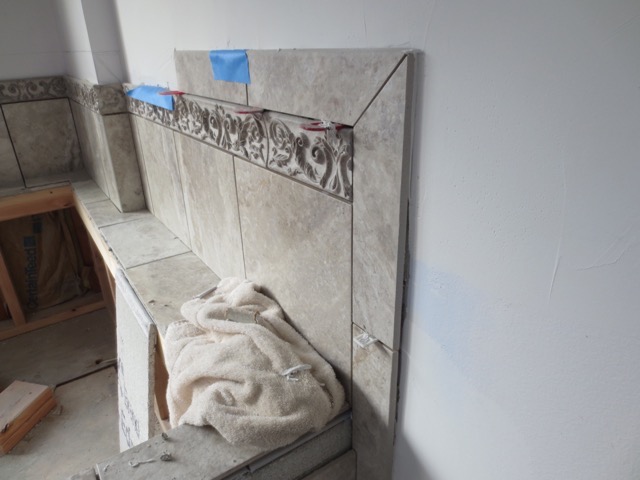
Templating the sill - One of our attempts to do the custom sill for the half-wall.
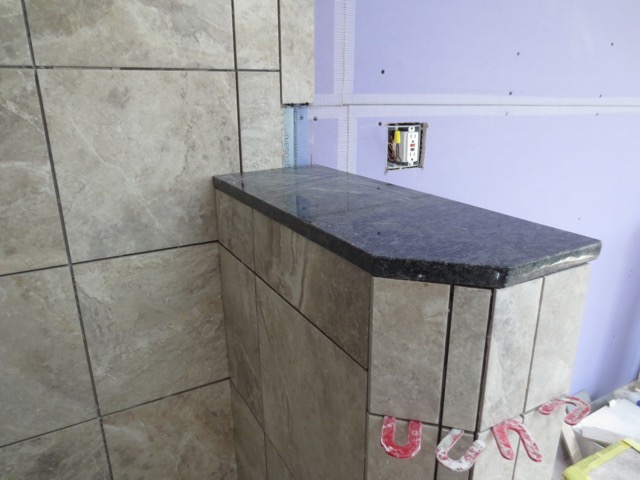
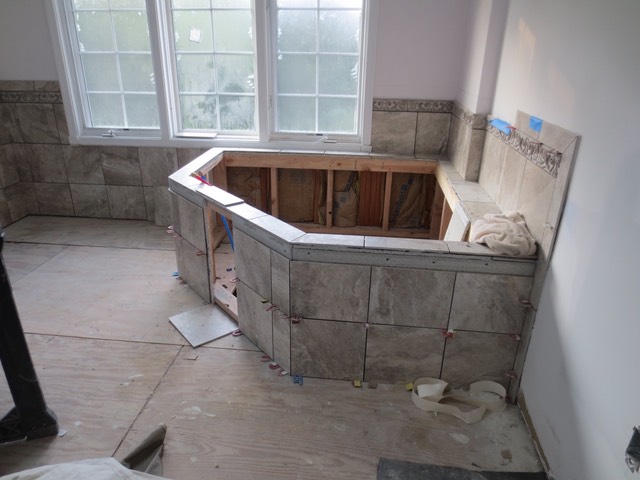
Sill and half wall work. You can see one of the new electrical outlets in the back. The original bathroom only had one outlet on the right side. This always drove us nuts because you really need two outlets, one for each person - for a toothbrush on the left and a hair dryer on the right. If I recall correctly, code also requires an outlet associated with each sink. Makes you wonder how the original house didn’t have two outlets in the first place. All better now!
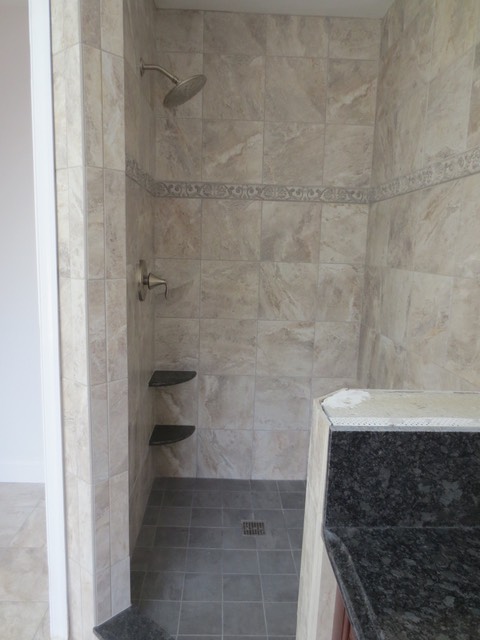
The shower with tiling in, just missing the sill. Look especially at the angles at the entrance - the 90 degree faces are critical. Getting this right so we could install the frameless door took a lot of clever wood work underneath - thanks Jamie! We had the added challenge of working with shower wall angles at the entrance that are were not naturally 45 degrees. It’s also worth noting that the tiler has to make sure sills slope into the shower at just the right angle so water goes where it’s supposed to. It’s this attention to detail that makes a good tiler so critical to a good bathroom design.
It’s a messy job!
Up close on the tub area tiling
Tub tiling, showing hidden access at the front for the plumbing. Chuck had the idea for using magnets on the hidden panel. If anyone ever needs to get back in here for a repair, it’s just a matter of cracking the grout and popping the hidden panel.
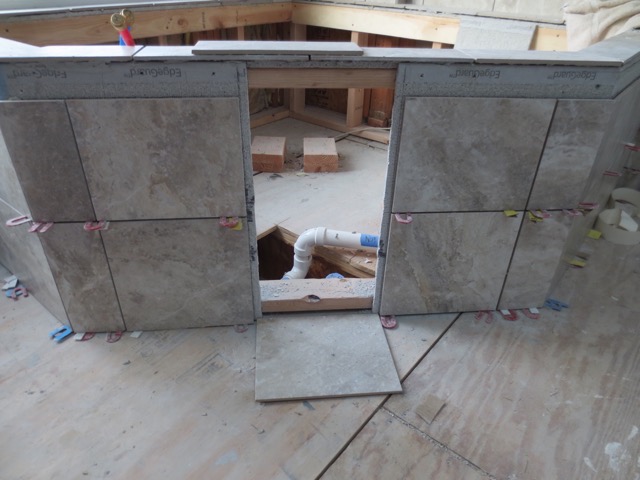
Another view of the access, plumbing showing
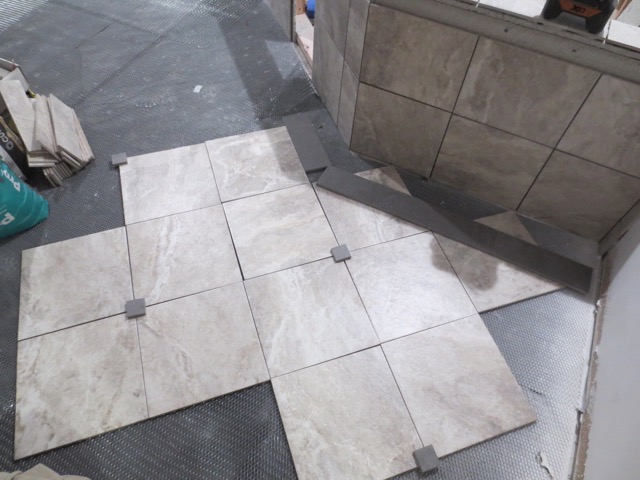
Figuring out the layout. There’s a lot of thinking that goes into placement before the tiles go in so you don’t end up with weird edges or placement. This is why you need a really talented tiling person! This picture also shows the critical wire lath that forms the tile underlayment before cement goes in. I found a great explanation for this process online here.
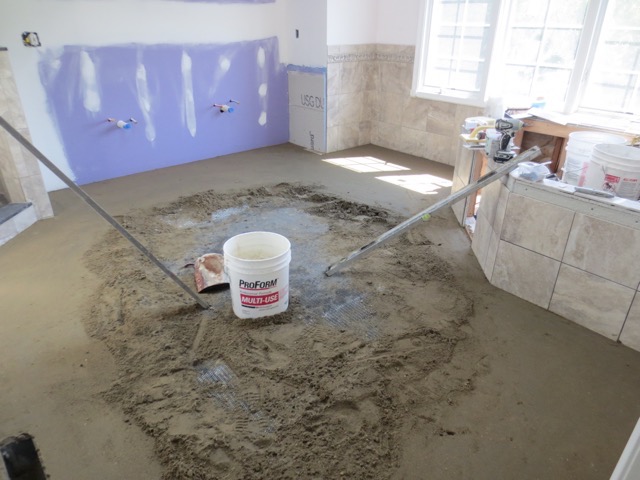
Cement floor - time to make things level
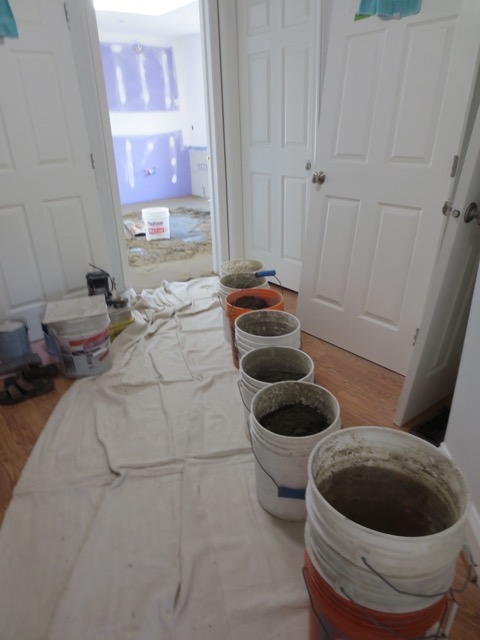
Ready for more cement
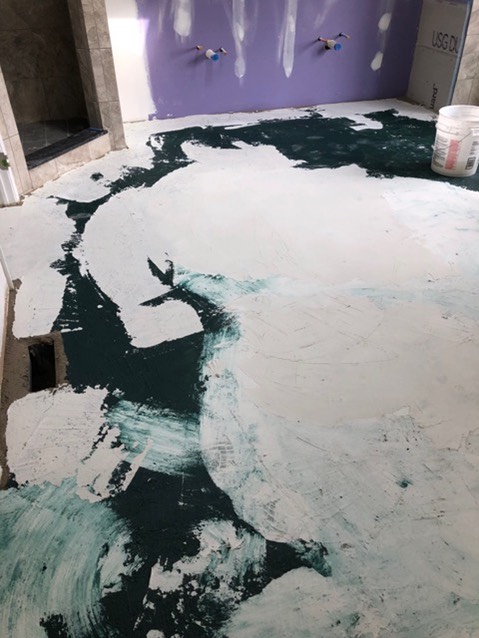
Waterproofing
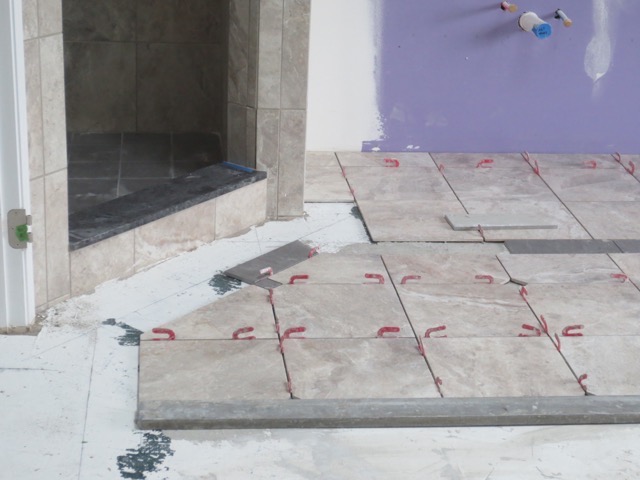
You can see the pencil sketch on the floor, and the care with which the border is being placed so it looks just right.
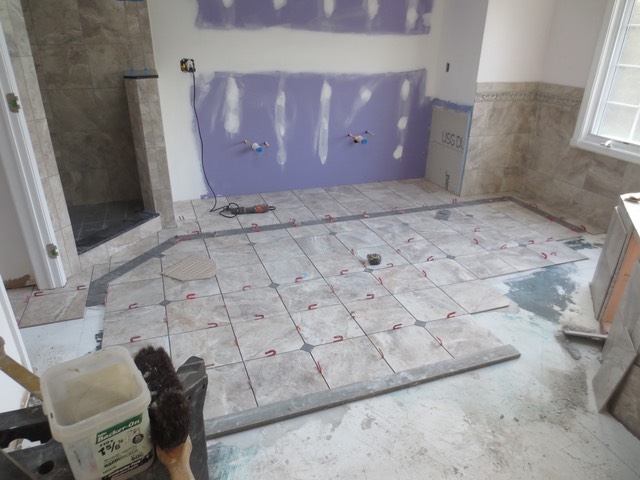
Tiling the floor - getting the decorative dots in place. Finished drywall in the background.
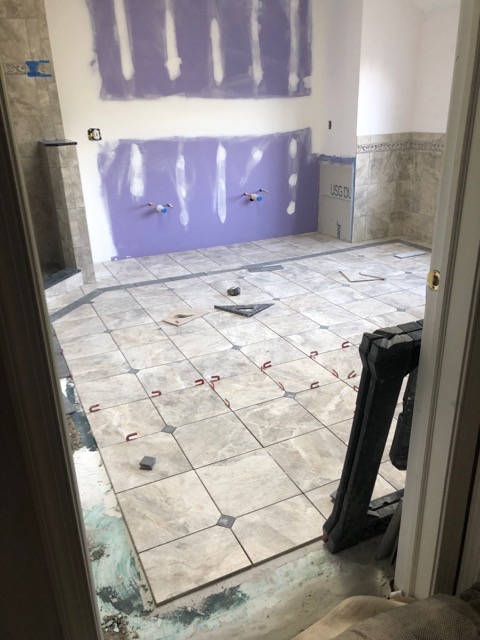
More flooring in
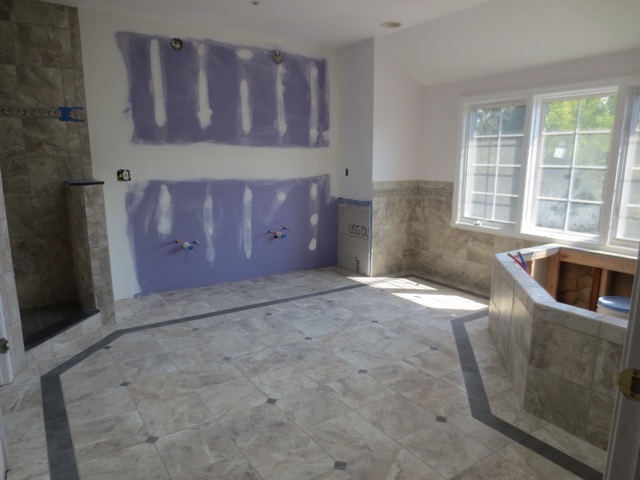
It’s really coming together!
Back to Tiling
Next - Finishing
Back to the before/after view.